
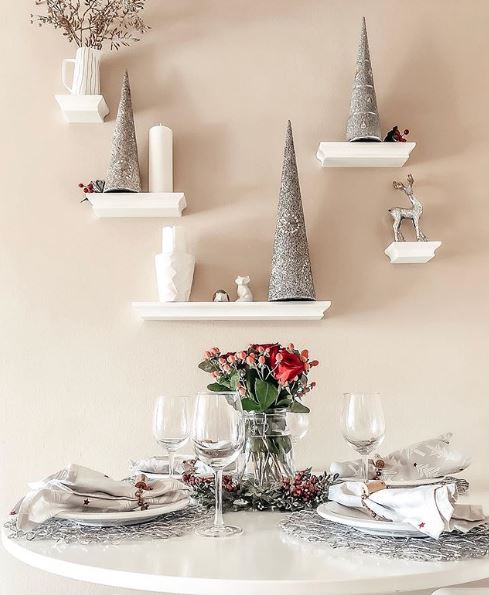
Who doesn’t love a fun, holiday crafting moment? We all know the holidays are super busy with parties, family, and decorating, but taking the time to create your own DIY pieces is totally worth it! It’s also a great way to give the kids something to do while they are on winter break from school or just hanging with you at home. Below are a few crafts from fellow blogger, Gina (@damnginacooks), that we think will be the catalyst to the perfect crafting night!
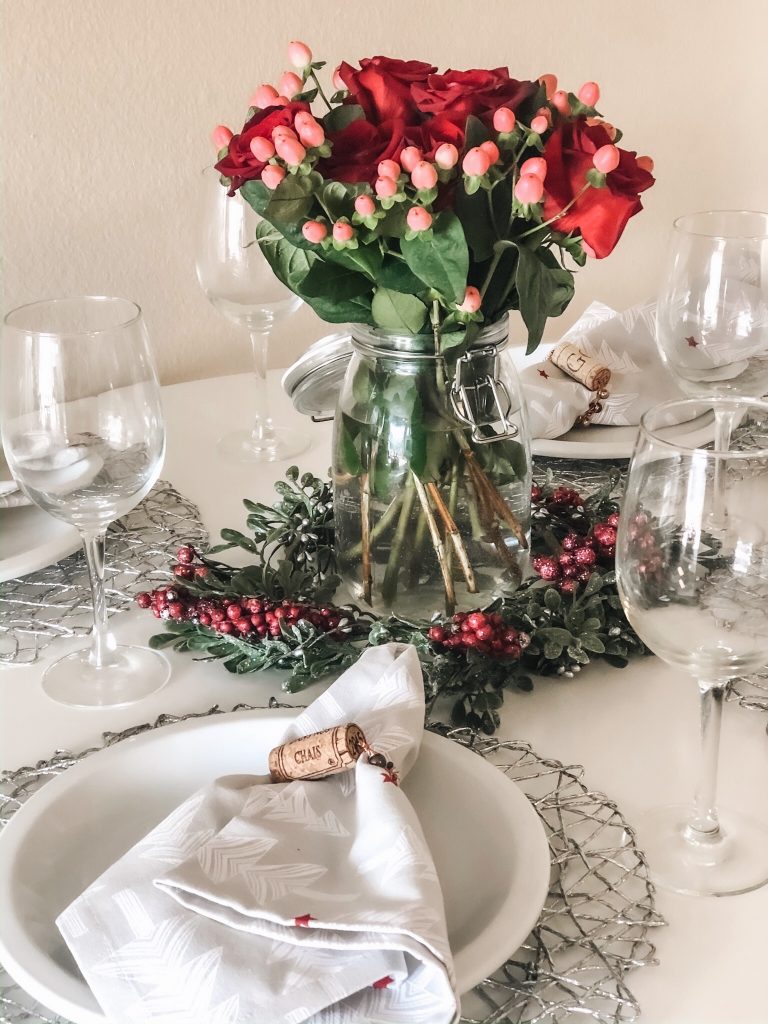
Wine Cork Napkin Rings
What you’ll need:
- 1/8″ drill bit
- Wine cork
- Copper wire
- Glass beads assortment
- Nail
- Using a 1/8” drill bit, drill a hole down the center of the cork lengthwise.
- Cut 2 pieces of copper wire 12” length.
- String the wire through the hole so that 2 pieces of wire are sticking out each end of the cork.
- String glass beads on 1 wire and secure with the other. Add a bead to each end of the cork to secure it in the center of the wires. Continue adding as many beads as you want.
- Wrap the wire around a nail to make decorative coils.
- Secure the 4 pieces of wire together by overlapping, twisting together, or making coils. Make sure you keep the ring tight and uniform so the napkins look nice and clean.
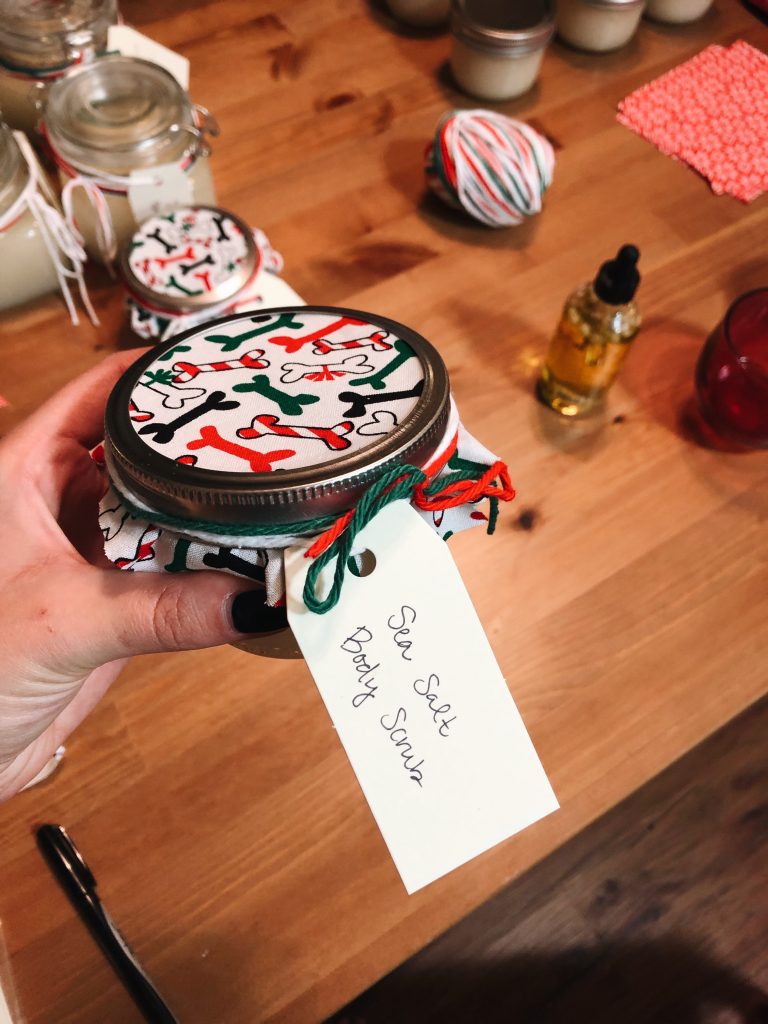
Homemade Body Scrubs
What you’ll need:
- 1/2 cup of coconut oil
- 1 cup of sea salt
- 3-4 drops of lavender essential oil
- Mason jar
- Holiday pattern fabric
- Multi-colored yarn
- Add all ingredients to your mason jar and mix together.
- If you are making a big batch, put all ingredients in a large mixing bowl and be sure to follow a 2:1 ratio for sea salt and oil.
- Cut the fabric into small circles or squares large enough to hang out from the mason jar rim.
- Cut multiple pieces of yarn and tie together around the rim to create a cute bow.
- These are great for personal use or holiday gifts!
The Perfect Gift/Decor Bow
- Your favorite holiday ribbon
- Fabric scissors
- Take the long piece of ribbon and fold it 4 times over (fold into fourths). I recommend folding first and then cutting the ribbon length to help you eye how much ribbon you will need.
- Cut a shorter piece of ribbon and cut a triangle out of the ends to give it a nice, two-point shape.
- Lay the shorter piece on top and perpendicular to the folded long piece of ribbon.
- Tie the short piece into a knot around the folded long piece.
- Take each loop of the folded ribbon and fluff them out by separating them.
- Trim the ends on the back so they don’t stick out.
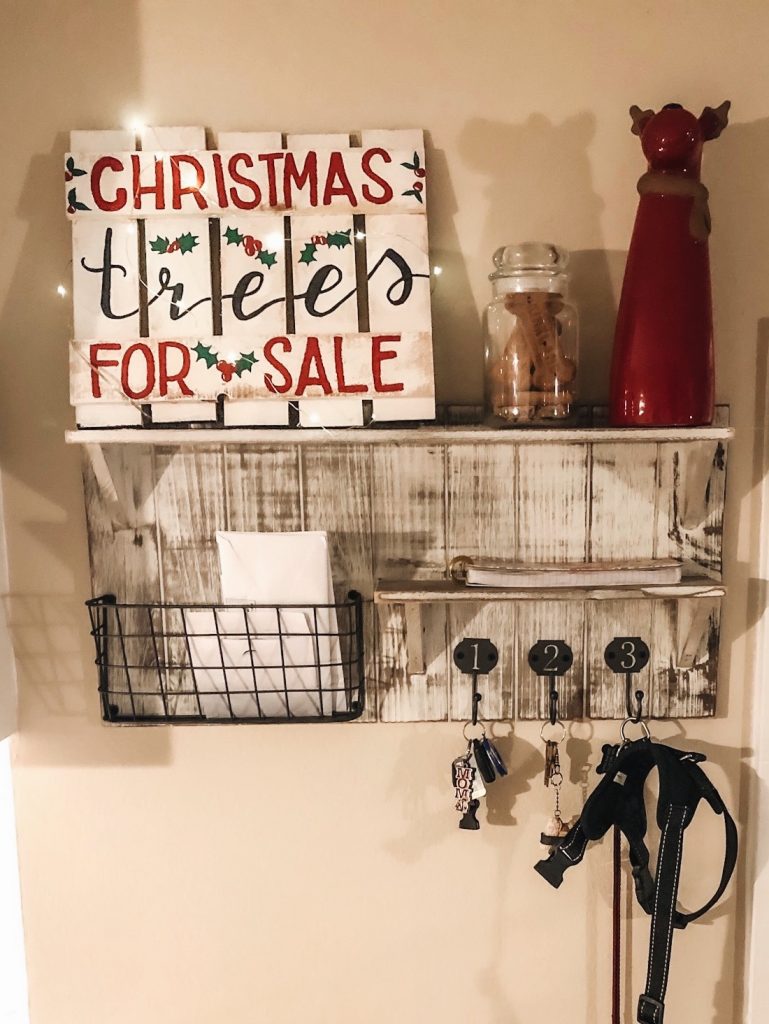
Holiday Wooden Sign
- Wood pallet plaque
- Multiple paint colors
- Paintbrushes
- Paint sponges
- Battery-powered wire lights
- Time to be creative! Your sign design is up to you, however, feel free to use Gina’s sign as a reference.
- Using a paint sponge, grab some white paint and cover the whole sign. This is supposed to be a vintage look so it doesn’t have to be perfect!
- Write and draw on the sign with pencil first BEFORE going in with paint, so you can erase if it doesn’t turn out the way you want it.
- Go over penciled letters and designs with paint using a paintbrush.
- Let the sign dry completely.
- Wrap the sign in wire lights making sure to keep the battery box out of sight and behind the sign.